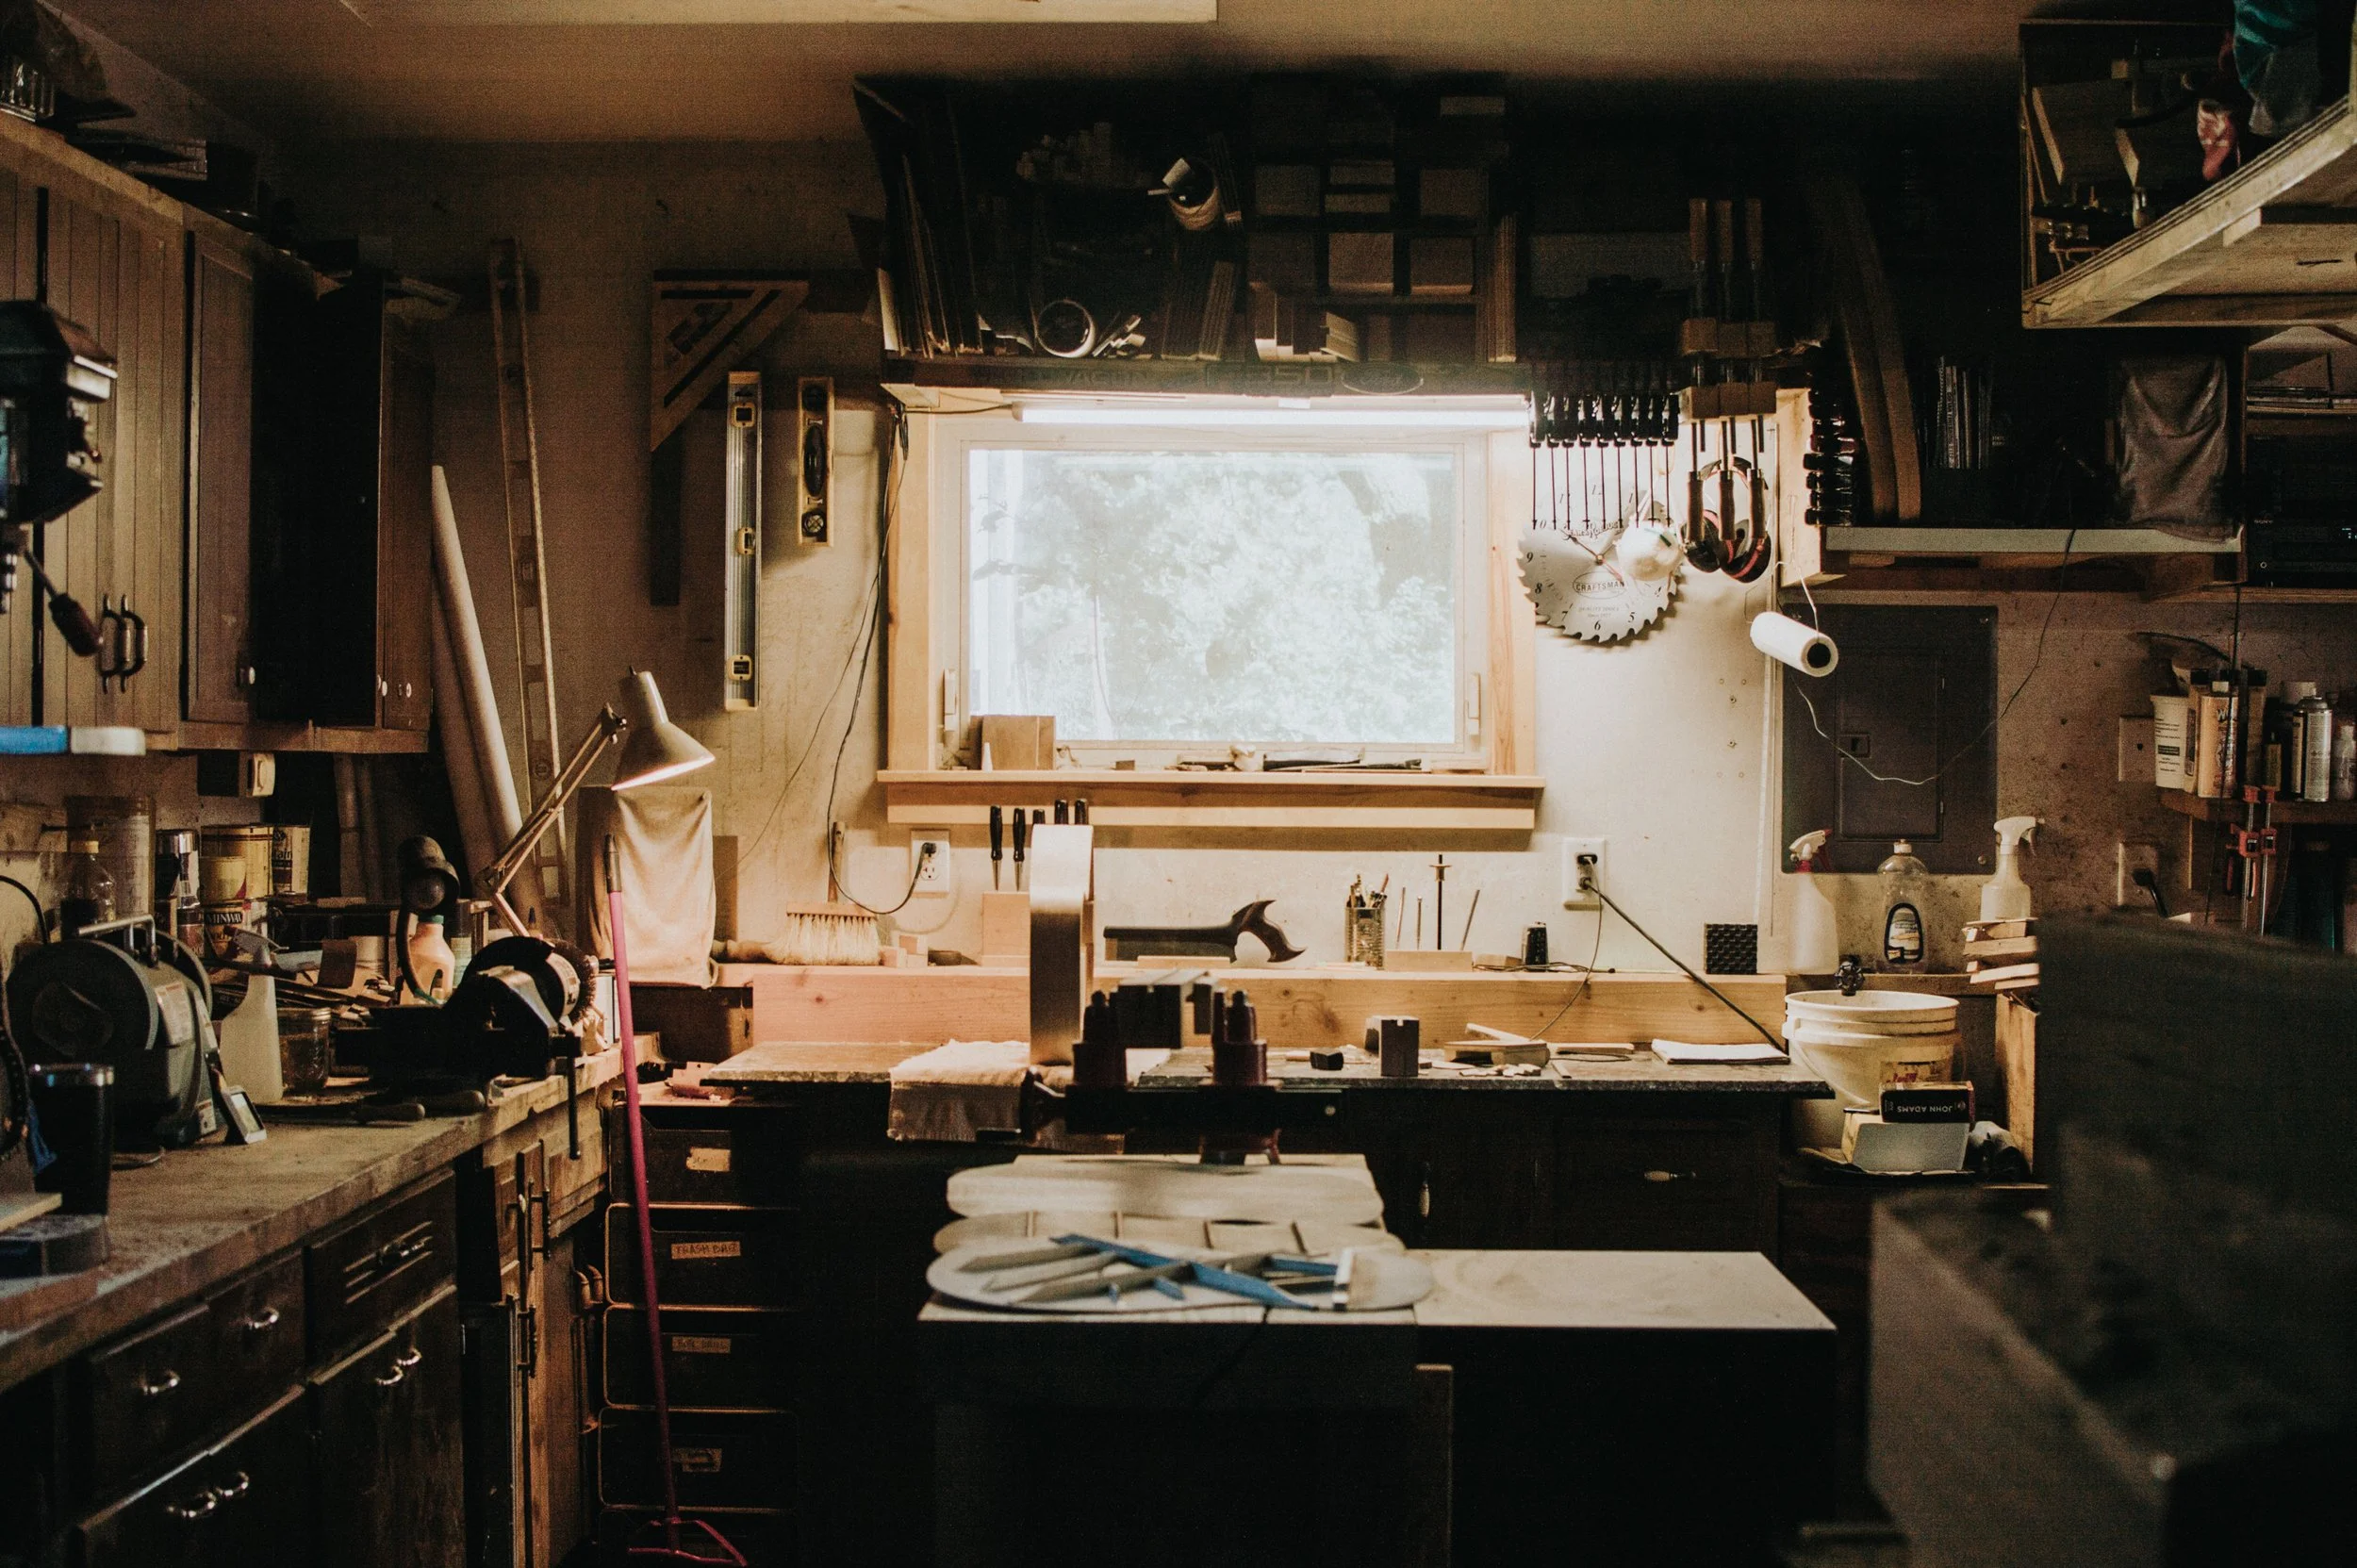
building process

1. Vision and design
Each guitar begins with careful planning long before construction.
All of the material and design choices are made to achieve the tone, aesthetic, and feel desired by the player. Woods are chosen for tone and visual appearance. The body size, scale length, and other dimensions are chosen for their influence on sound. The neck size and string spacing are chosen for playability and comfort. Each component of the guitar is crafted to meet the desires of the client. This collaboration and fine-tuning is truly where a custom guitar brings more satisfaction than simply choosing a factory model.

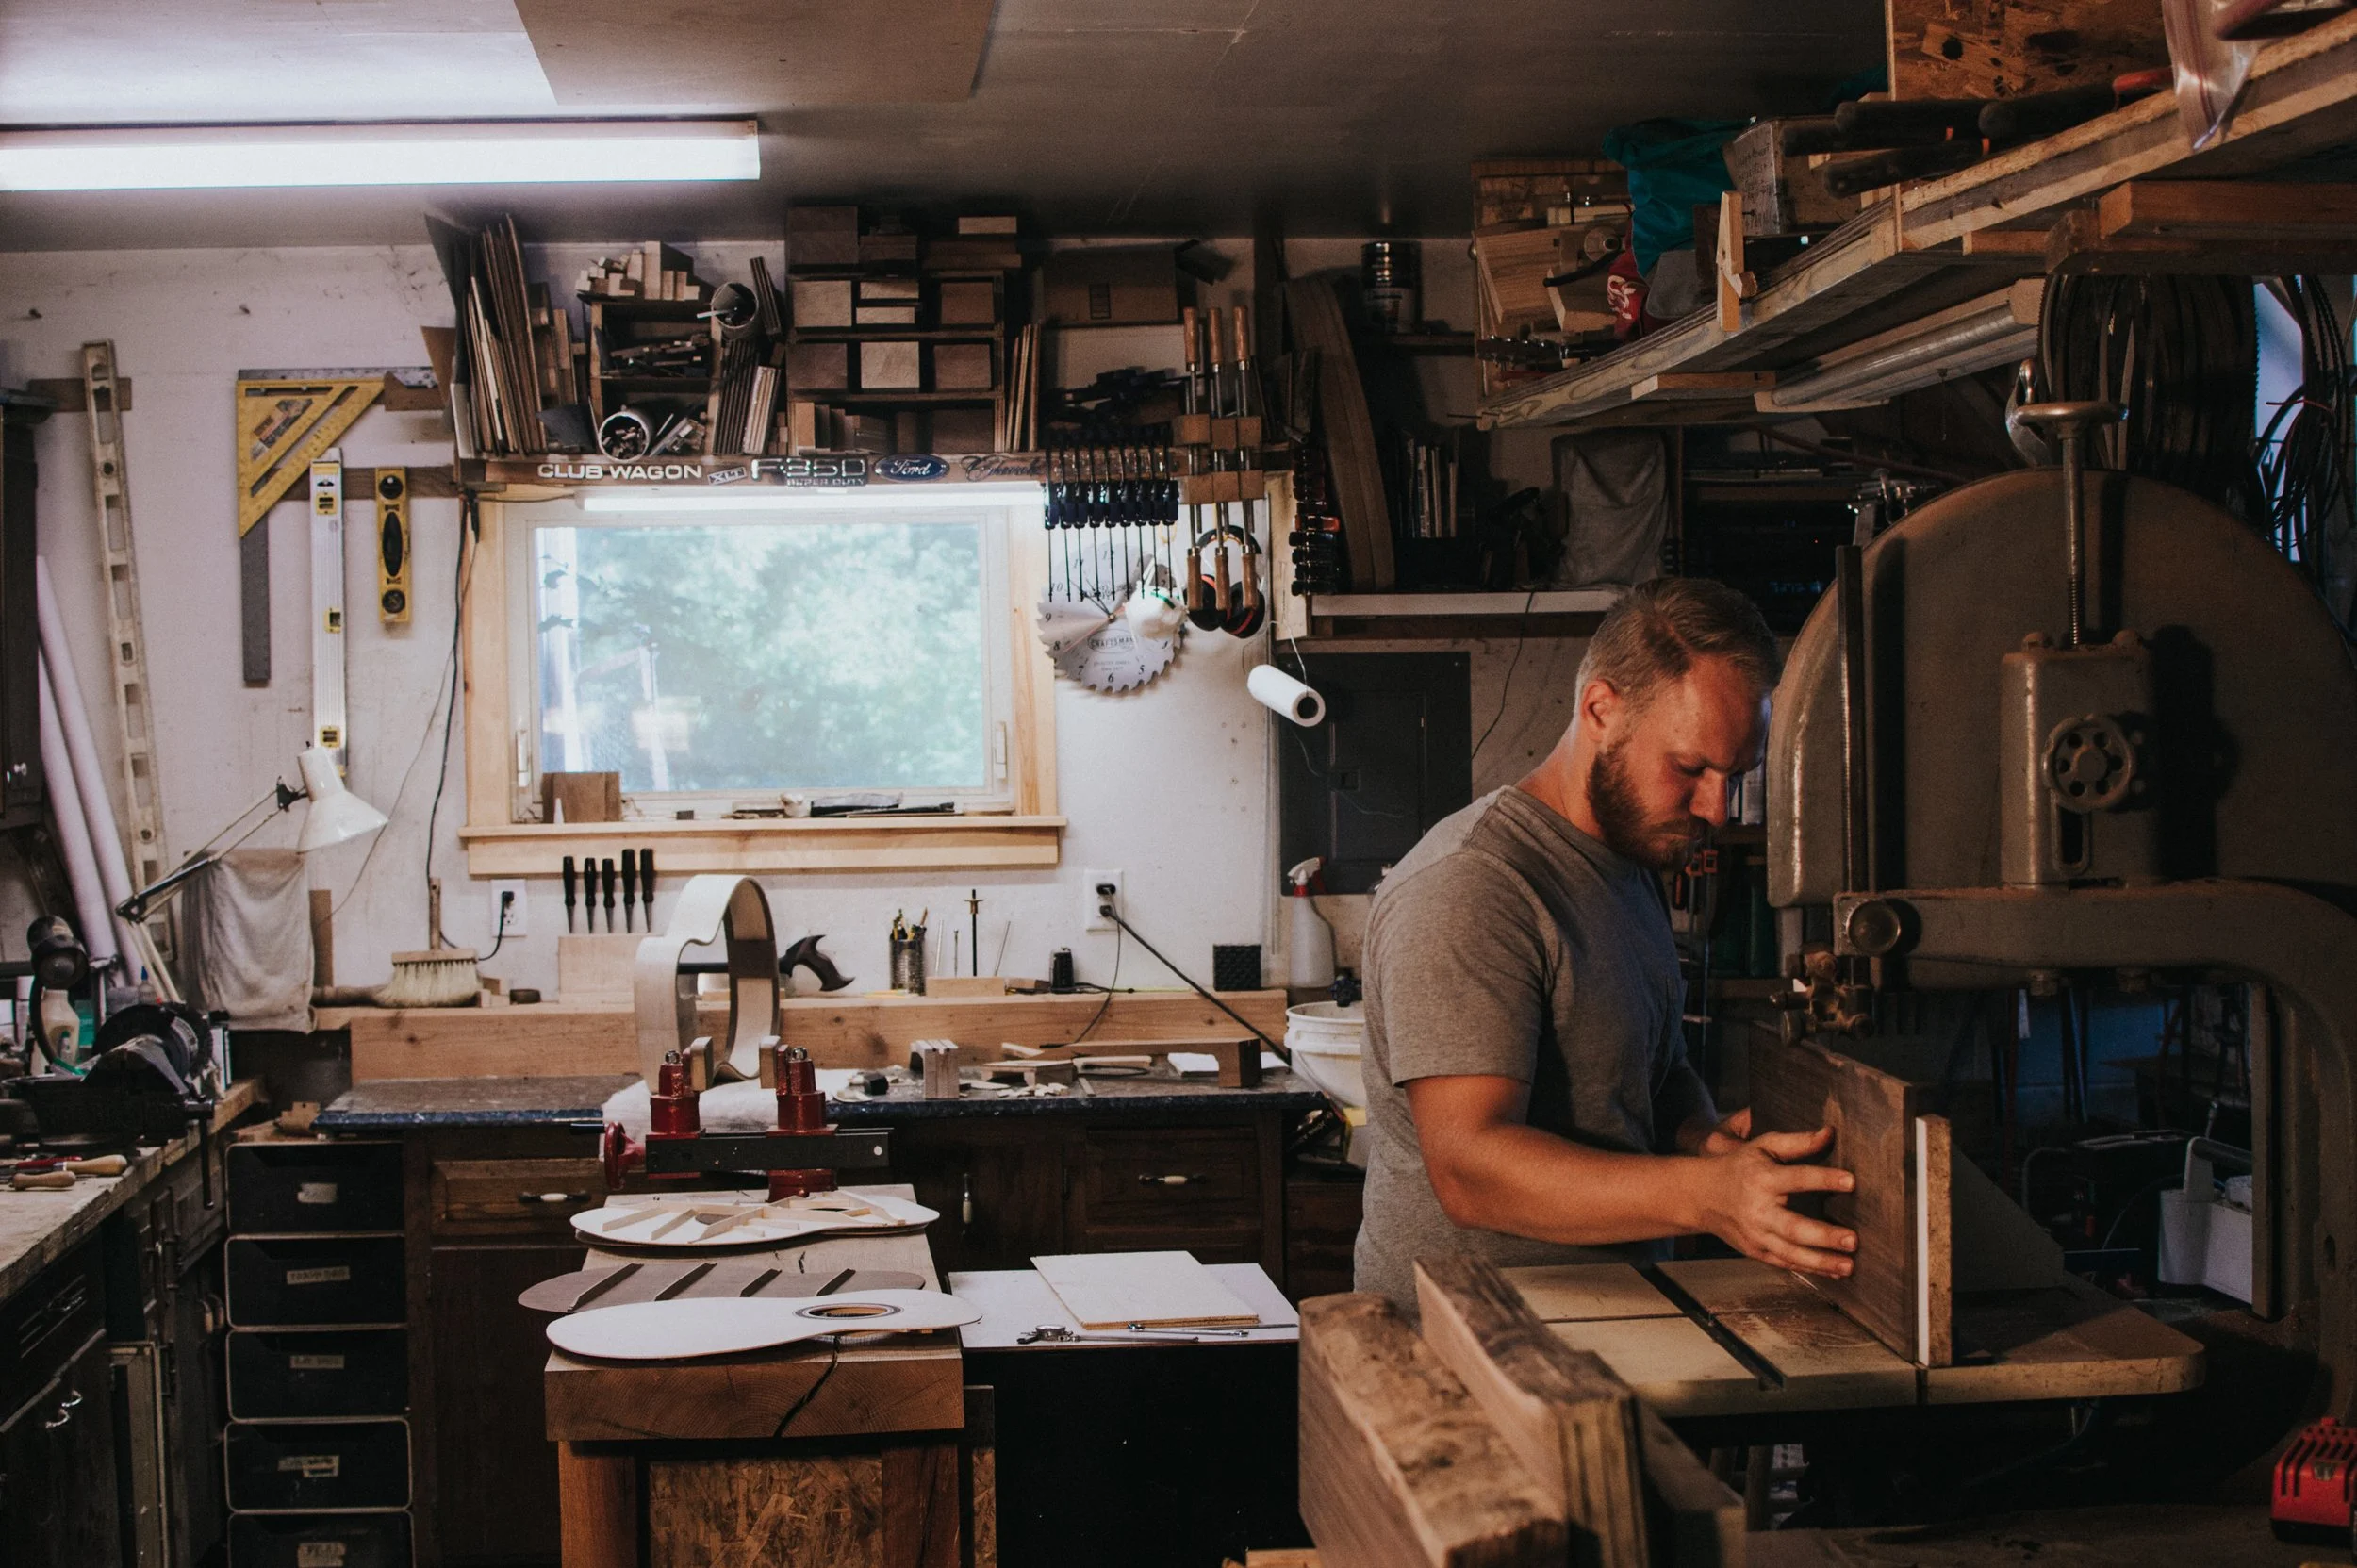
2. Shape and foundation
I typically start with making the rim or sides of the guitar. These parts serve as the foundation upon which the rest of the guitar is built. Sides are planed, sanded, and bent to shape, then the layers are laminated in a mold to achieve the desired form of the guitar. Finally, neck block and tail block are glued in place, along with the linings.

3. Top, back, and bracing - the biggest factors in tone
The top, back, and bracing are the greatest influences on the finished tone of the guitar. Once the foundation is in place, the guitar is ready for the top and back. The two book-matched halves of the top are joined and the sound hole is cut. I then carefully “thickness” the top to its final dimension. This process is one of the significant factors in determining the sound of the guitar. A little material is removed at a time, with frequent pauses to flex the wood, listen to the tap tone, and judge its stiffness. I work each piece of wood individually to bring out the best tonal characteristics I can in each one. I also utilize deflection testing to improve consistency and to give some numbers to what my hands, eyes, and ears are experiencing. The back is joined and taken to its optimal thickness through the same process, all based on the desired sound of the guitar.
After the top and back are joined and thicknessed, I glue on the braces. Much like the top and back, the braces are significant to the finished sound of the guitar. The braces are glued to impart a slight arch, which makes the vibrating plates stiffer and thereby thinner and more responsive.
Next is a process called voicing. The oversized braces are carefully carved to bring out the desired sound of the guitar, with frequent stops to tap, flex, and listen to the top. This informs me of where more material needs to be removed or which areas need to be tightened or loosened.
Once the voicing process is complete, the back is glued onto the rim, finishing the soundbox.

4 Neck, fingerboard, headplate - the pieces that shape the instrument’s feel
The neck, fingerboard, and headplate all shape the feel of the finished instrument. The neck is cut out of a solid block of wood on the bandsaw and channels are routed into it to receive an adjustable metal truss rod and two carbon fiber stiffening rods. I use a traditional dovetail joint to attach the neck to the body. The fingerboard is then thicknessed, tapered, and cut to receive the frets. With wood chosen to compliment the rest of the guitar, the headplate is cut and both headplate and fingerboard are glued onto the neck blank.
Since the neck is one of the main contact points between the player and the guitar, much time is spent working the neck to proper comfort and shape. I use a traditional spokeshave, chisels and rasps to carve the neck, carving the shape and size to suit the player’s preference. The neck shape can even be copied from an existing favorite guitar if the player desires. The body and neck are then carefully sanded and prepared for finish.

5. finishing touches
Now that most of the pieces are in place, it’s time for lacquer, frets, and tuning components. I finish my guitars with traditional nitrocellulose lacquer, which protects the wood, yet is still flexible enough to allow the instrument to vibrate freely. Successive thin coats are applied to build the finish to the desired thickness. The lacquer is then left to cure for two weeks, after which it is sanded flat and buffed to a high gloss. The neck is glued on and the bridge is shaped and glued. The frets are installed in their precut slots and then dressed, crowned, and polished. Next, the tuning machines are installed and a bone nut and saddle are fit. At this point strings are finally ready to be strung and tuned. The guitar is meticulously set up before reaching the hands of the player.